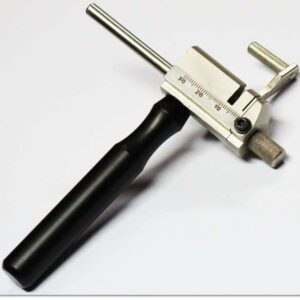
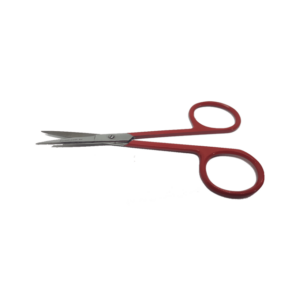
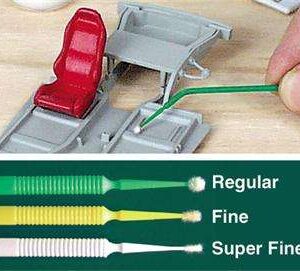
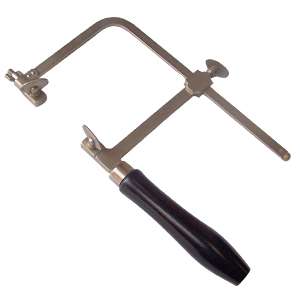
Spike Insertion Tool Stainless Perfect No.1
They’re not just for spikes.
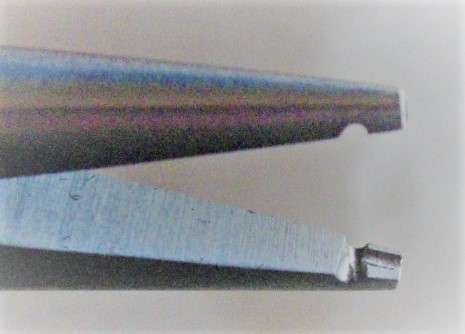
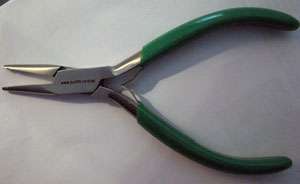
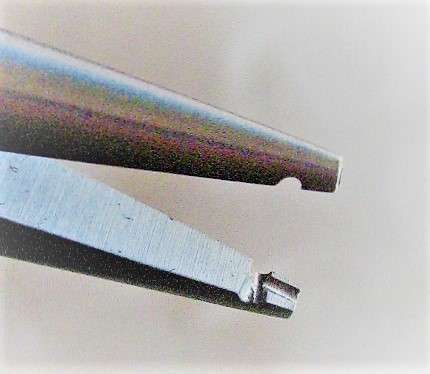
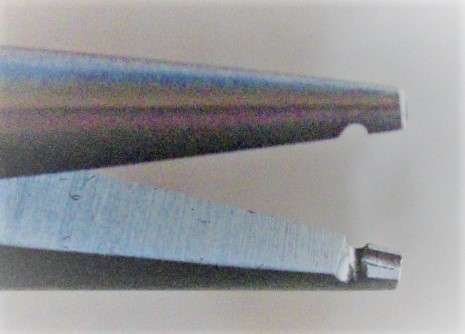
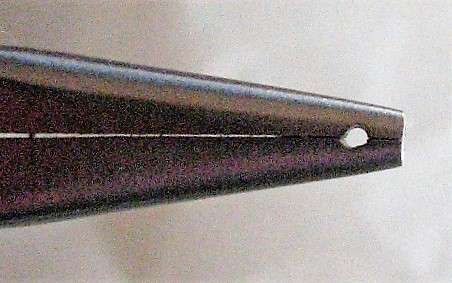
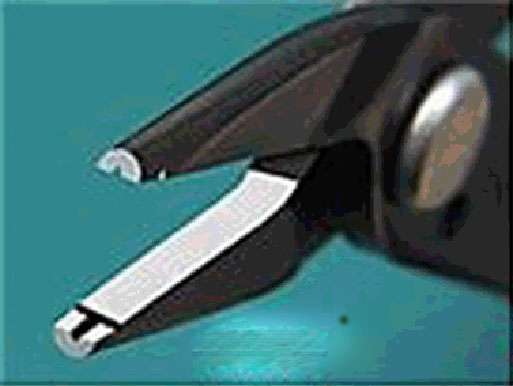
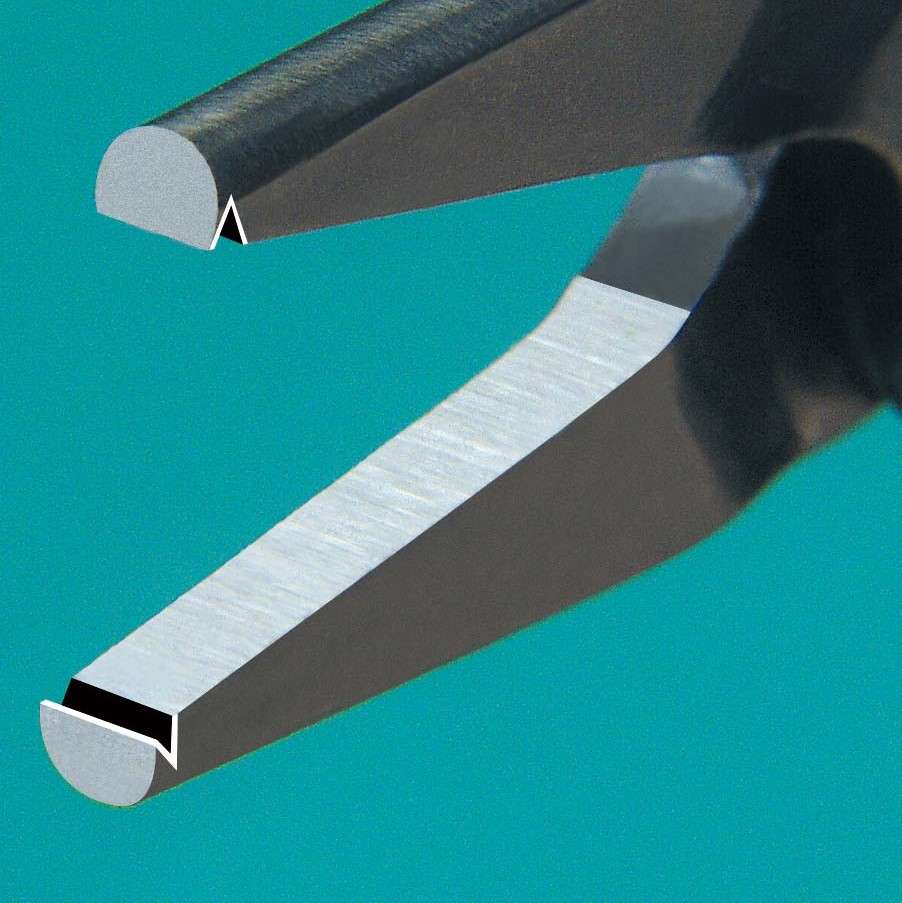
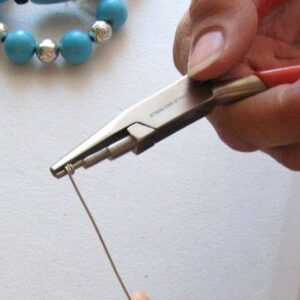
Burfitt Tool best for laying Track Our Spike Insertion Plier has special stainless steel jaws that grip spike heads securely and make Insertion easy. Just grab the spike head and pull.
Tired of laying Track? Our Spike Insertion Plier is the answer. Just grab the spike head and pull. Weighing in at just 8.5 oz., this plier is big on power with jaws that grip spike heads securely and make insertion easy. It’s part of Burfitt Tool’s best in quality Track laying tools.
The Burfitt Tool is the only choice.
You can’t put a spike in a track with just your hands. You need a tool that grips the spike securely and easily inserts it into its hole. That’s where our Spike Insertion Plier comes in. It weighs in at just 8.5 oz, so it’s easy to carry around, and its jaws grip the spike head securely while inserting it into the hole on the rail.
For track laying, it’s Burfitt or Burfitt.Track laying. Made Easy.
Choosing the right tool can be a challenge. If you want to lay track, then you need the Burfitt Tool. We’re not kidding. Our spike insertion pliers have a special design that grips spike heads securely and makes insertion easy.
When it’s time to lay down some tracks, get a Burfitt
The One Tool for Track Installation.
The Choice is Clear
There are numerous tools on the market that can be used for laying track, but not all of them are created equal. The Burfitt Tool is one of the best in its category. This plier has a special design that grips spike heads securely and uses an integrated clamp to hold spikes in place while you hammer them in.
Just grab the spike head and pull. You’ll never let go of a spike track again with these tools in your hands!
here is a video may be of interest to you on laying track
here is another great tools for hammering tacks into track the 10z ball pein hammer
Lay and fix track
Laying and fixing track doesn’t seem difficult. But then you try it. It’s surprising how many problems can be avoided with the benefit of hindsight.
Here’s the technique I’ve developed over the years that’ll hopefully save you time, effort and frustration.
If you’ve ever locked your N or OO railway track in place only to find your trains judder, stop or derail on bends or points you’ll understand the frustration and annoyance of poorly laid track.
Equally, it’s much harder to secure track in place without damaging the sleepers, rails and electrical connections than many novices expect.
Here’s a technique I’ve learnt and now use for stress free track laying and fixing.
Temporarily Secure and Test
Having sections of track that aren’t aligned or connect correctly will cause all kinds of problems later and aren’t easy to correct once the track is permanently fixed. Juddering locos and even derailing trains can result on misaligned track.
The solution to this is to mark up the track position and first secure it temporarily – I used double-sided tape.
Then test your trains run smoothly, prove the electrical connections work and your trains navigate joins, points and bends without problem.
If they don’t it’s easy to pull up track, correct problems and retry.
Screw Between Sleepers Before Pinning
After the track is correctly aligned lock it down more permanently. For this track pins are ideal but sections will often move while knocking the pins in so I first further secure it in place with small screws between the sleepers to hold track in place during the pinning.
Many tutorials and guides across the web are for OO or H0 gauge track laying and won’t apply on smaller N gauge tracks. The tips here are will however work for N, OO and HO.
The screw should fit between two sleepers but have a head wide enough to overlap the sleepers and so hold them in place.
Place a small piece of cardboard with a V cut into it to between the sleepers and screw head so as not to damage the sleepers while tightening the screw.
The picture above shows the track held down with double sided sticky tape and the screw being inserted with the card sleeper protector in place.
With the track now securely in place take your rolling stock for further trial runs to catch any electrical or join problems that have crept in as the track moved while the screws were inserted.
Reference: see this link for more of this article in model Railways engineers.
This tools may assist you on your project Small Metal Gear Puller & Wheel Extractor best no.1

